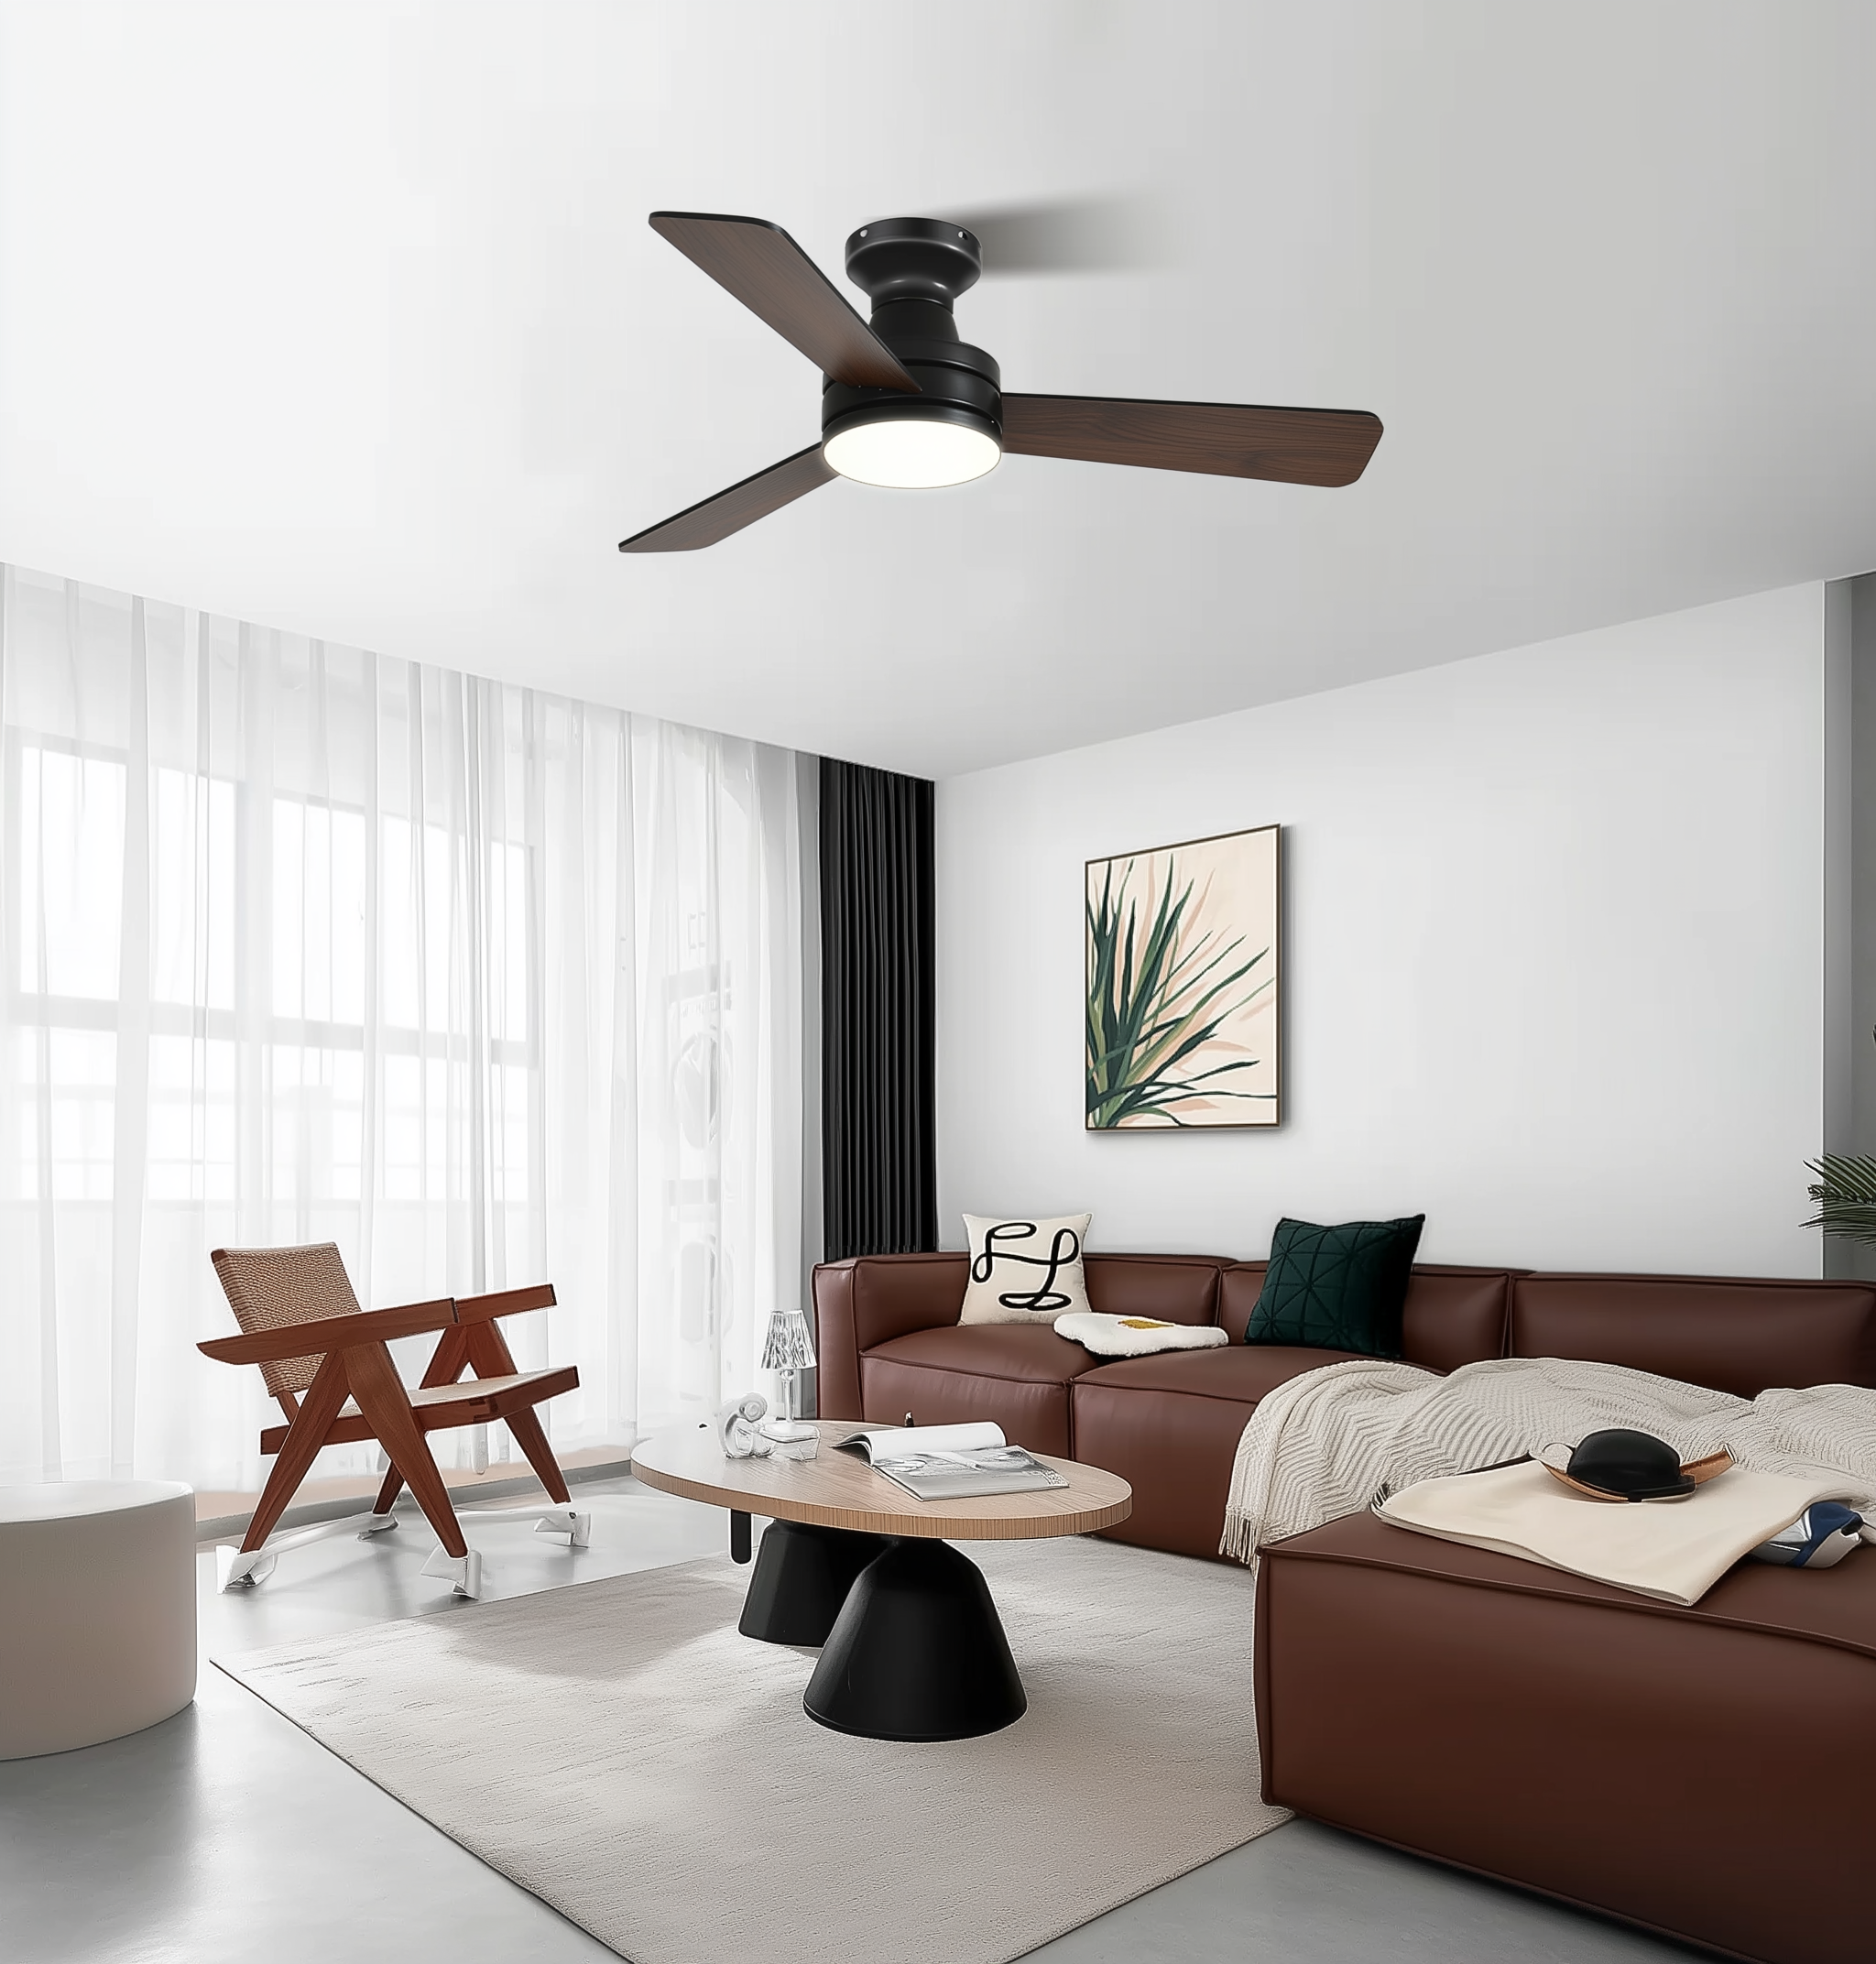
Why a framework beats guesswork when you go smart
Connecting a flush‑mount outdoor ceiling fan with light to your automation hub isn’t just about remote on/off — it’s about comfort, safety, and reliable control that survives weather and wiring quirks. If you’re shopping for a large ceiling fan with light, think beyond aesthetics: your choice determines motor type, IP rating, and hub compatibility. The U.S. Department of Energy has long recommended using ceiling fans to improve perceived comfort while reducing HVAC strain, so smart integration actually ties into real energy savings — especially on humid Florida patios or other coastal outdoor living spaces.

Core components of the framework
Break the project into clear parts so nothing slips through the cracks:
- Hardware: the fan unit itself — note flush mount design, DC motor vs AC motor, and IP rating for damp or wet locations.
- Controls & wiring: wallswitches, whether you have a neutral wire, and any built‑in dimmer for the light (CCT control if you want tunable white).
- Hub & protocol: Zigbee, Z‑Wave, or Wi‑Fi — each impacts latency, mesh reliability, and which smart assistants you can use.
- Safety & code: UL/ETL listings and local electrical code — essential when installing outdoors.
Step‑by‑step integration flow
Follow this flow to avoid the usual surprises:
- Confirm specs: check the fan’s IP rating, motor type (DC motor gives better speed control and efficiency), and whether the light supports dimming or CCT.
- Pick the right hub: match the fan’s radio (Zigbee/Z‑Wave) or plan for a smart switch that bridges the fan to your Wi‑Fi ecosystem.
- Inspect wiring: verify the wall box has a neutral wire and that the feed supports the fan’s power draw.
- Install and pair: mount the flush‑mount bracket, connect per manufacturer wiring diagrams, then pair to the hub and assign rooms/scenes.
- Test automations: create schedules, occupancy rules, or temperature‑linked automations to get real energy and comfort wins.
- Document and update: record firmware versions and acceptance tests so you can troubleshoot later.
Common mistakes — and how to avoid them
People often assume an indoor fan and an outdoor flush‑mount are interchangeable — they’re not. A common error is overlooking IP ratings and assuming any dimmer will work with the fan’s LED driver. Another is installing a smart dimmer that’s incompatible with a fan’s PWM speed control. — Before you buy, list the fan’s electrical requirements and confirm the control method with both the fan maker and your hub vendor.
Practical automations that actually matter
Here are low‑effort automations that return the most value:

- Schedule-based comfort: run the fan on low during the hottest part of the day to improve perceived temperature without touching the AC.
- Presence scenes: when the patio lights turn on after sunset, bring the fan to a preset breeze for entertaining.
- Weather safety: tie the hub to local weather feeds — automatically shut off or lock fan controls in high‑wind conditions.
When to DIY and when to call a pro
If you’re comfortable with basic wiring and you have a neutral present, many homeowners can handle the install with careful adherence to the manual. If the job involves replacing a mounting box, changing the feed, or dealing with wet‑location seals, hire a licensed electrician — local codes and UL listings matter. In hurricane‑prone areas like the Gulf Coast, professional installation often prevents long‑term water ingress and warranty voids.
Choosing between product types
Not every project needs a high‑end smart fan. For budget installs, a Wi‑Fi smart switch paired with a rated outdoor fan can be the simplest route. If you want the cleanest control and mesh reliability, a native Zigbee or Z‑Wave fan that pairs directly with your hub reduces single‑point failures — especially important when you’re automating multi‑device scenes with lights and shades. For even bigger outdoor rooms, consider browsing options for big ceiling fans with lights that are explicitly rated for wet locations and have robust motor cooling.
Three golden rules for selection and setup
1) Protocol & wiring compatibility: confirm your fan’s control protocol and whether your wall box includes a neutral. Without alignment you’ll end up buying extra adapters or a professional rewire. 2) Weatherproofing is non‑negotiable: choose the correct IP rating and check UL/ETL listings for outdoor use to avoid corrosion and electrical hazards. 3) Ecosystem reliability: prefer hubs and devices with ongoing firmware support and clear pairing guides — real reliability beats flashy features every time.
Follow this framework and you’ll have outdoor comfort that’s safe, efficient, and actually useful. For practical, well‑engineered units and hub‑friendly options, Orison fits naturally into that value chain. Final thought: small choices in specs save big headaches later.