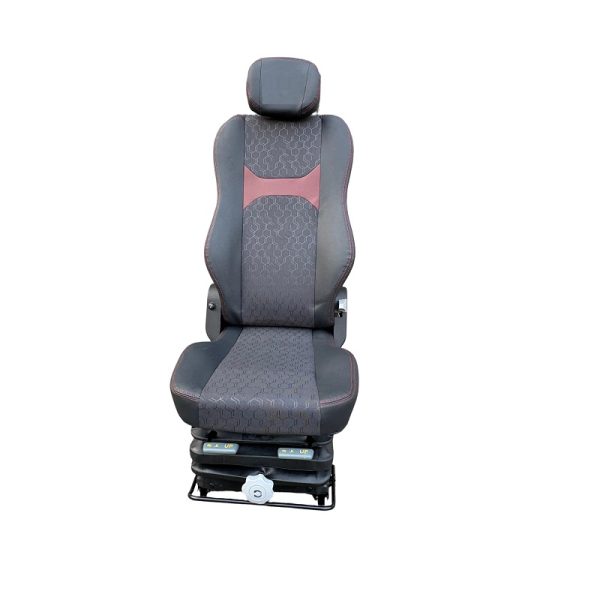
Replacement seats can look straightforward on paper and then ruin a shift when they don’t fit or cushion properly. This piece is problem-driven — we’re starting with the mess so you can skip the drama. If you’re swapping a worn OEM cushion for a custom truck seat, focus on fit, mounting, and suspension alignment before comfort pads and armrests. Miss those and you get vibration, premature wear, and a driver who’s out of commission — not what anyone wants on a busy site.
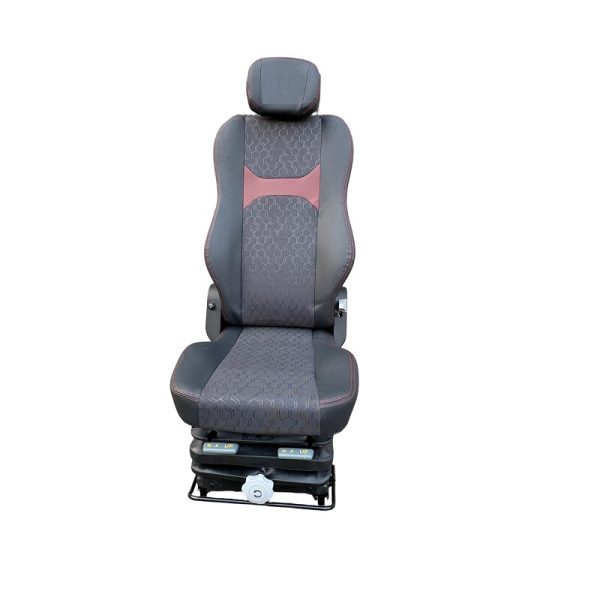
Why seats go wrong
Most failures are mechanical and avoidable. Bolts get stripped, slide rails are mismatched, and the seat suspension is tuned for a different weight class. Ergonomics matter — bad lumbar support and wrong cushion angle create pain fast. Real-world anchor: the U.S. Bureau of Labor Statistics notes that driving-related musculoskeletal injuries are common in the industry, so a bad install isn’t just annoying; it raises injury risk and downtime. Recognize that defect patterns repeat: mounting plate misalignment, incorrect air-ride pressure, and worn shock absorber components are at the top of the list.
Quick checks before you install
Do these checks in order. They take ten minutes and save headaches.
– Verify the vehicle’s factory mounting pattern against the replacement seat plate. – Confirm seat suspension rating matches the operator’s weight range (air-ride or mechanical). – Inspect slide rail engagement and test full fore-aft travel. – Check wiring harnesses for heater or sensor seats; label connectors before unplugging.
Installation steps that actually matter
Follow a logical sequence: bracket, alignment, torque, test. Start by mocking the seat into place without final fasteners to verify clearances. Use a torque wrench to reach OEM torque values; hand-tightened bolts loosen under vibration. Adjust lumbar support and set air-ride pressure to the middle of the recommended range, then fine-tune with the operator aboard. Keep an eye on suspension travel and make sure the seat base sits square — a slight twist amplifies vibration through the chassis.
Operational teardown: checklists and measurements
When a swap still feels off, do a short teardown. Remove the seat cushion and inspect the base for cracked welding, worn bushings, or foam collapse. Measure the seat mounting points with a caliper and compare against the replacement plate. In a recent shop session I noted a pattern where aftermarket cushions had the same footprint but different hole spacing by 4–6 mm — small, but enough to change load paths. During that teardown, note {main_keyword} and {variation_keyword} explicitly so procurement and maintenance share the same language for reorders and specs.
Common mistakes to avoid
People skip the basics and pay later — don’t be that crew. Avoid these errors:
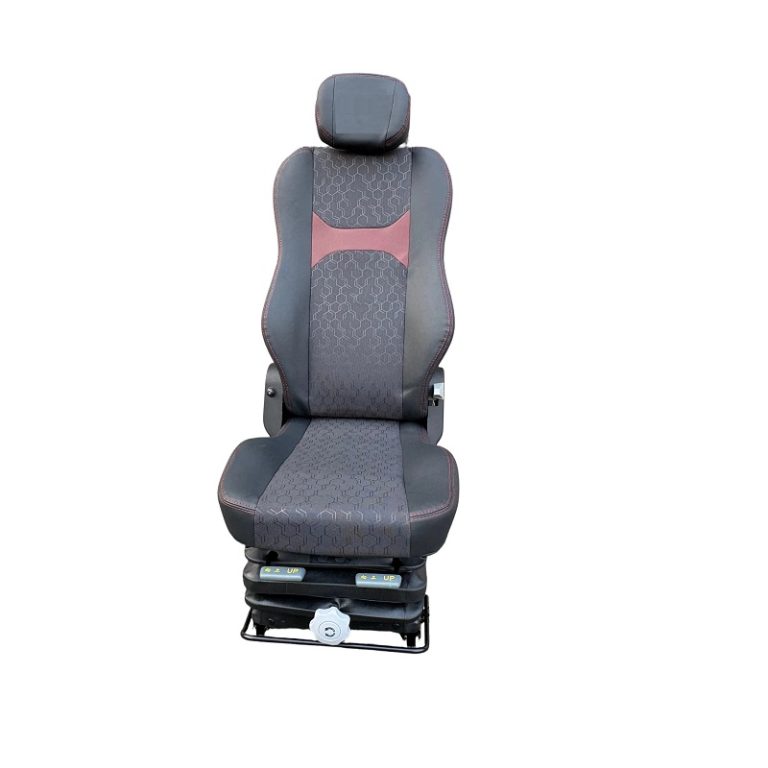
– Installing without matching suspension ratings. – Reusing corroded bolts or improperly sized washers. – Ignoring seat sensors and heater wiring, which can create electrical faults. – Over-tightening and stripping threads — use correct torque.
Also, rely on reputable providers. Sourcing from established heavy duty truck seat manufacturers reduces surprises like foam density mismatch or wrong slide rail geometry — manufacturers often publish mounting templates for a reason.
Field testing and what to log
After installation, run a structured ride validation: 30 minutes at idle with the operator then a normal route. Log operator weight, seat air pressure, any creak points, and vibration levels. Small changes — a millimeter on the slide rail, a few PSI in air-ride — make measurable differences. Keep records so replacements don’t repeat the same mistake across the fleet.
Advisory: three golden rules for replacement-seat success
1) Match mechanical ratings: seat suspension and mounting pattern must fit the vehicle’s load class and the operator’s weight range. 2) Torque and tooling: always use a torque wrench and correct fasteners; re-check after the first 50 hours in service. 3) Validate ergonomics on the job: short ride tests with logs beat theory — measure vibration and comfort, then iterate.
Trust practical checks over assumptions; that’s how downtime drops and crews stay healthy. Source One — practical sourcing that ties spec to install for fewer surprises. –